
Do you want beautifully sculpted features without spending hours blending and layering makeup? The good news is that contouring doesn’t have to be complicated or time-consuming. With the right approach, you can define your face in just five minutes.
Many people feel intimidated by contouring. With so many bronzers, highlighters, brushes, and online tutorials available, it’s easy to assume the process is difficult. The truth is, contouring can be simple when you focus on the essentials and use techniques that actually work.
By applying a few strategic strokes in the right areas, you can enhance your cheekbones, refine your nose, and create a sharper jawline almost instantly. The key is knowing where to place your product and blending it well for a natural finish.
In this guide, you’ll discover practical tips and expert tricks to help you contour your face quickly and confidently—even if you’re a beginner.
This article will show you exactly how to contour your face in 5 minutes, using easy steps that deliver professional-looking results.
Understanding Contouring
Contouring 🎨 is the art of sculpting and defining your face. By using shades slightly darker than your skin tone, you can create natural-looking shadows and accentuate your best features.
Choosing the Right Products
- 🛍️ Creams: Perfect for a natural finish and easy blending.
- 🛍️ Powders: Great for setting makeup and adding a more defined look.
💡 Pro Tip
If you’re a beginner, start with a cream-based contour stick or palette. They’re effortless to apply and blend seamlessly into your base makeup..
Finding Your Contour Zones
Knowing where to apply contour is crucial for a flattering result.
- Focus Areas: Jawline, cheekbones, and nose are the key spots to define your face.
- Pro Tip: Use natural light to identify the shadows on your face for guidance 🌞.
Prepping Your Skin
Healthy skin is the canvas for flawless makeup, so skincare is key 💆 .
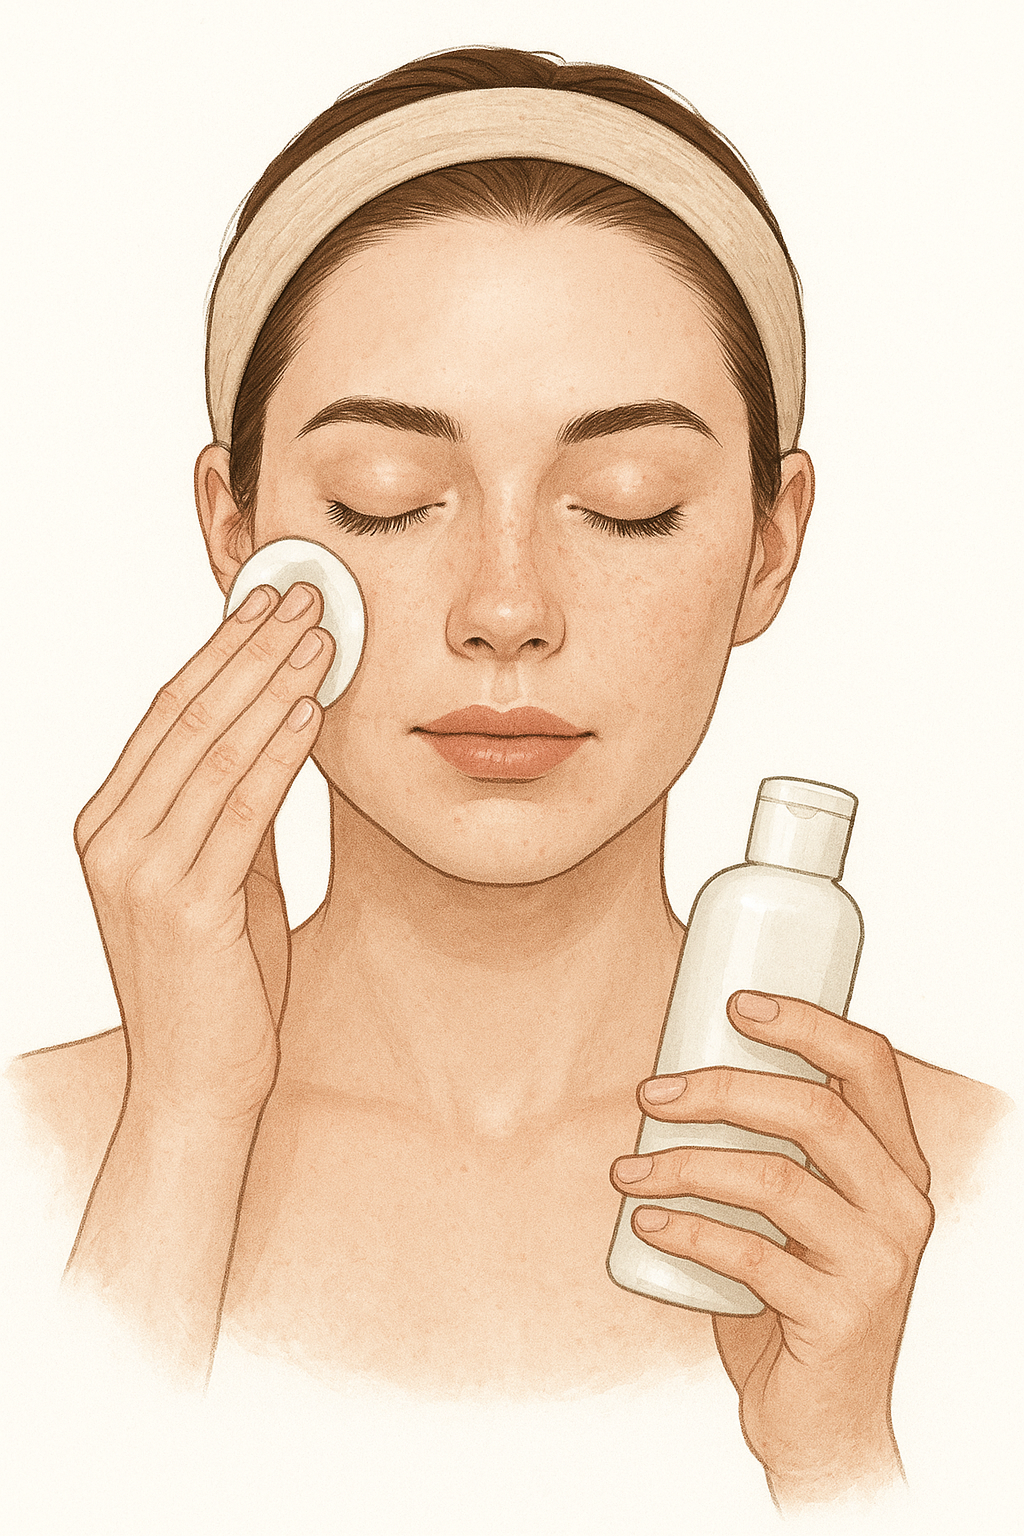
- Routine: Cleanse, exfoliate, and moisturize for a smooth base.
- Example: Double cleanse at night and moisturize daily for hydrated, glowing skin ✨.
Cream vs. Powder Contour 🌸
Your choice depends on skill level and the finish you want.
- Cream Contour: Easier for beginners, blends seamlessly, and gives a natural look.
- Powder Contour: Ideal for setting makeup and creating sharper definition.
- Try This: A cream contour stick for precise, beginner-friendly application 🎯.
Step-by-Step Contouring Guide
Here’s how to contour different areas of your face 🪞:
✨ Cheekbones
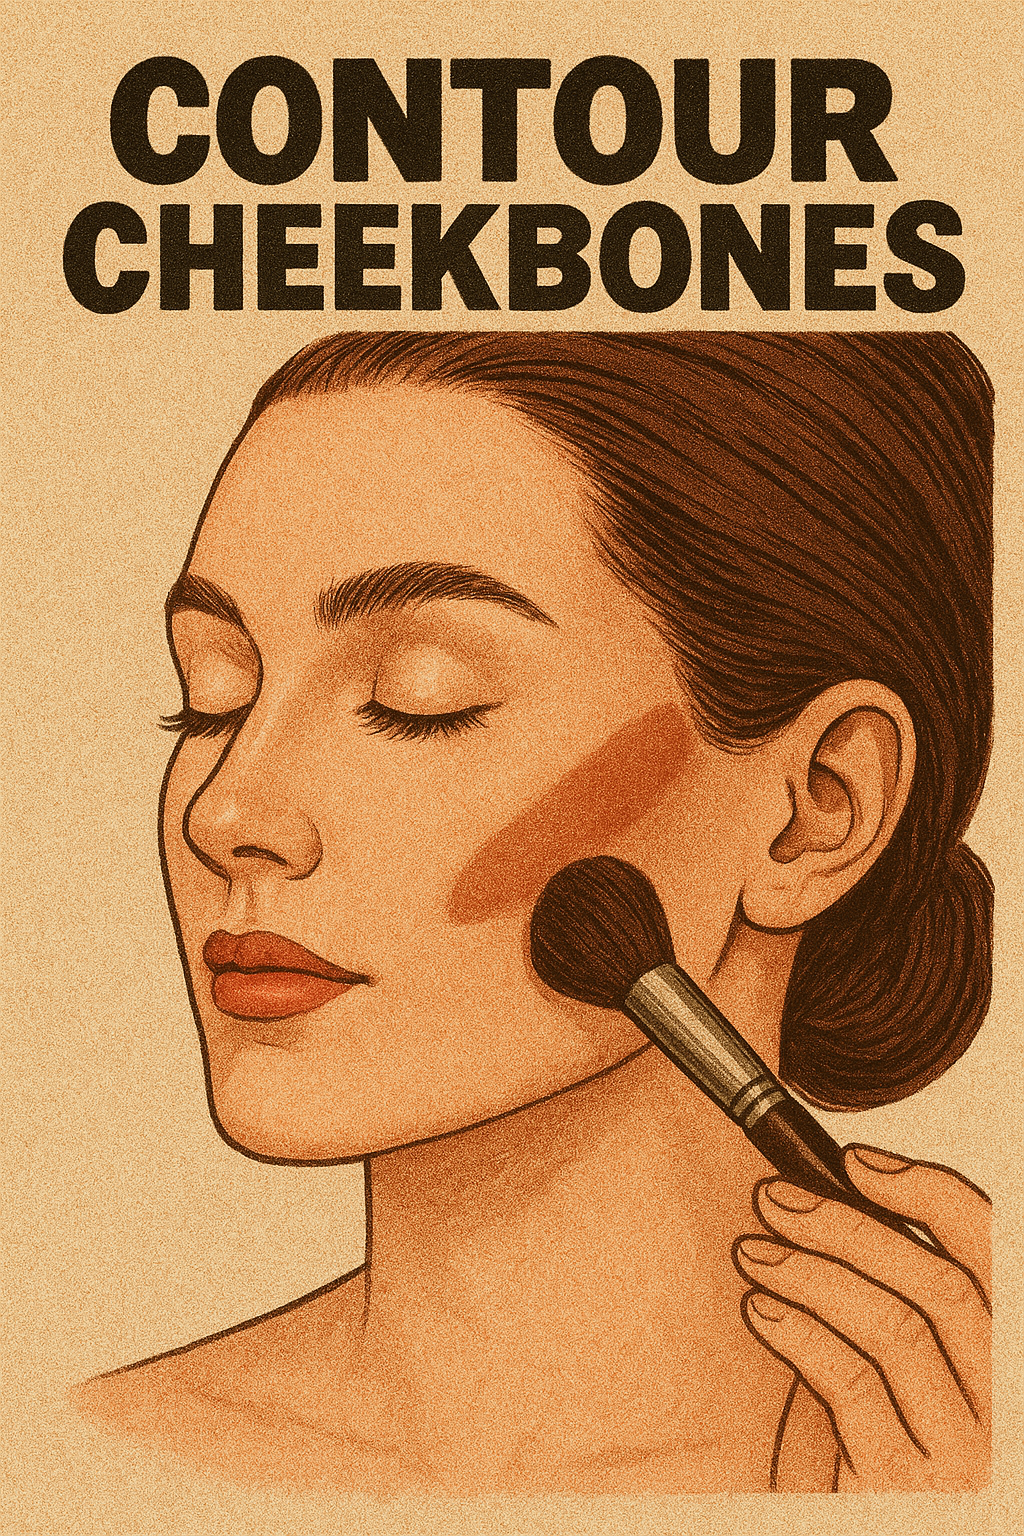
- Visualize a line from your ear to the corner of your mouth.
- Apply contour along this line and blend toward your hairline.
- Use a brush or fingers to blend until seamless.
✨ Forehead
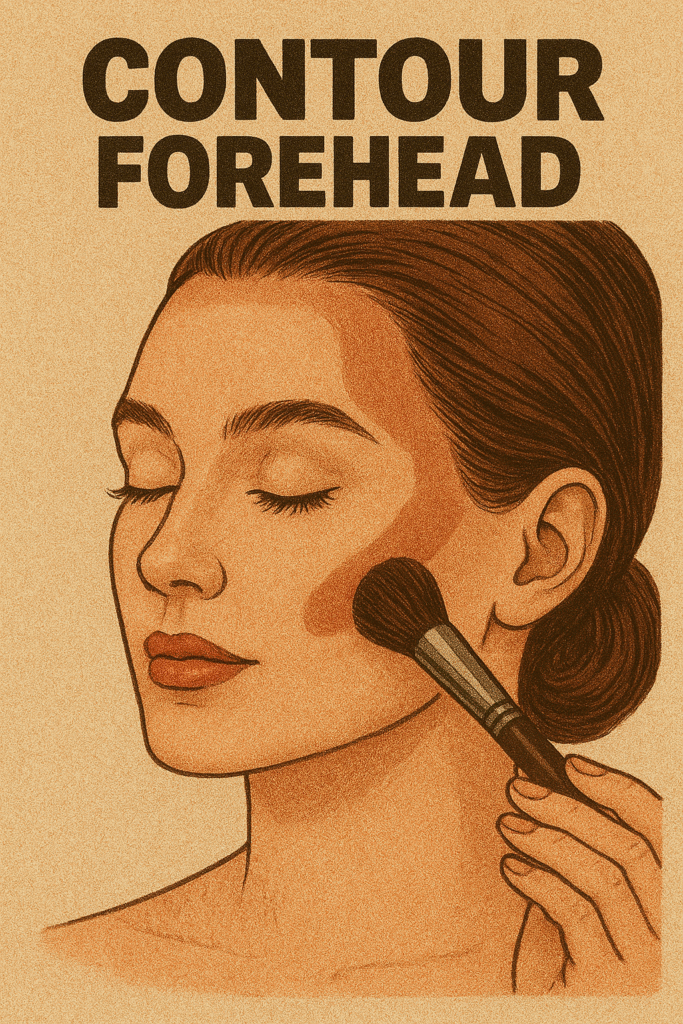
- Dot contour along your hairline from temple to temple.
- Blend in semicircular motions for a natural gradient.
- Focus on the sides for a narrower effect.
✨ Jawline
- Buff contour along your jawline to create subtle shadows.
- Blend well for a sculpted but natural finish.
✨ Eye Area
- Imagine a line from the outer corner of your nose to above your brow bone.
- Apply contour along this line and blend upward 👀.
- Extend slightly for a lifted effect.
🌟 Completing the Look
- Highlighter: Apply to high points like cheekbones, brow bone, and nose bridge.
- Blush: Sweep onto cheeks for a healthy, radiant glow 🌹.
🌿 Contouring at Any Age
Contouring isn’t limited by age — just adapt your technique as your features evolve.
- Tip: Use contour to gently lift and define as skin changes over time.
- Example: Softer application can enhance features while respecting skin’s natural texture 💕.
💄 Contouring is a versatile technique that enhances your natural beauty. With a little practice and the right products, you’ll master the art of sculpting in no time!
